


How to Make A Balloon Arch
Crafting the perfect arch is possible
No longer your arch-nemesis (ha…ha)
You’ve seen them. You’ve envied them. You’ve mostly wanted to pop them (kidding…who, us?) Balloon arches - whoever decided these were the key to hosting a party, well, you no longer need to despise them and their mischievous ways. We are here to show you the best way we’ve experimented with to make your balloon arch. It’s poppin’ (but don’t worry - your balloons aren’t!)
Supplies:
- Electric Balloon Pump
- Hand Pump (helps get double stuffed balloons started and helpful for smaller 5" balloons)
- Balloons!
- String or fishing line and needle
Tricks:
- Use helium in place of pumps
- Transport balloons in large duvet covers or trash bags
- Get a variety of sizes - smaller balloons are more malleable, while large ones take up space
FYI before you start: Depending on the size of your arch, it can take anywhere from 1-3 hours to assemble from start to finish once you’re comfortable. But like anything, the first time typically takes longer to see what works for you and what doesn’t. So factor this in… so you don’t end up the airhead (we’ll still like you if you do).
Step-by-step to build your balloon arch
1. Buy your balloons
Pick a variety of balloons in sizes up to 10 inches. We recommend 25-100 balloons, pending the size of your desired finished product. Factor in that large balloons (8-10 inches) will make up about 50% of the quantity - and the rest will be filled in with smaller sizes.
Quality balloons make all of the difference! Here are a few we love - all are biodegradable, eco-friendly, and so much easier to work with.
- Qualatex - bright colors and knobbies (long, skinny balloons)
- Tuftex - more pastel, muted color options
- Betallatex - unique patterns, even animal print
- Sempertex - pastel and softer colors
A (not scary, but real) warning
We’ve often been disappointed with the Amazon kits (which are so affordable and look so great in the photos). We’ve experienced that the colors don't look the same as shown, the balloons are transparent, they pop easily, and - worst of all - make your fingers hurt, blister, and even bleed by the time you’re through tying them all. You’ve been warned! If you need further evidence, here is a little video comparing Amazon kits to other balloons.
With that being said, you don't need to spend a fortune on balloons for a better quality, and you don't have to buy them in bulk. Many Etsy shops sell high quality balloons in varied sizes in the color combos you are looking for, and some with custom colors. It’s always good to confirm the size of the arrangement in the Etsy display for your planning purposes.
2. Fill balloons with air
Time to get pumping! (This is a different kind, for the mamas out there). Kickstart your pumping with the handpump, then transfer to the electric pump. Grab a partner to help you tie, pour a glass of wine, and make it a memory.
Note: Don't fill balloons all the way. A little extra room is helpful when moving them around on the arch, and they are less likely to pop. You can also let a little air out to shape a balloon, if you prefer a round balloon to the way it naturally blows up.
Think about transportation to your event. We’ve had a car full of balloons and it works but it is comedy! If you’re able to blow up balloons on-site, that eliminates transportation issues. If not, blowing up balloons the day before helps save some time on event day.
3. Assemble string and begin arching
There are many ways to skin a cat (ew, we take that back). But here are two methods we’ve found success with.

Fishing line and needle
- Once balloons are tied, you essentially ‘sew’ through the tied balloon (on the non-pumped up side of the knot) with fishing line. See image 1.
- Loop additional balloons onto string of balloons to fill in gaps.
Ribbon, tie, ribbon, tie
- Start with a ribbon 10-20 feet (or don’t even cut it—just work your way from the beginning).
- With your regular everyday knot, begin a knot in the ribbon (see image 2). Before pulling all the way to secure the knot, stick the balloon tail through.
- Tighten the ribbon, so knot is now secured around balloon tail.
- Repeat. Repeat. Repeat. The closer together, the better, to keep balloons in bunched look.
- Add additional bundles of smaller balloons to fill in gaps.

Arrangements can last up to a week inside without any fluffing. We definitely recommend prepping no more than 48 hours in advance of your party for the best, plumpest appearance.
With that, your balloon arch is ready to go! Get pumping, get tying, don’t get popping, and have fun!
More articles

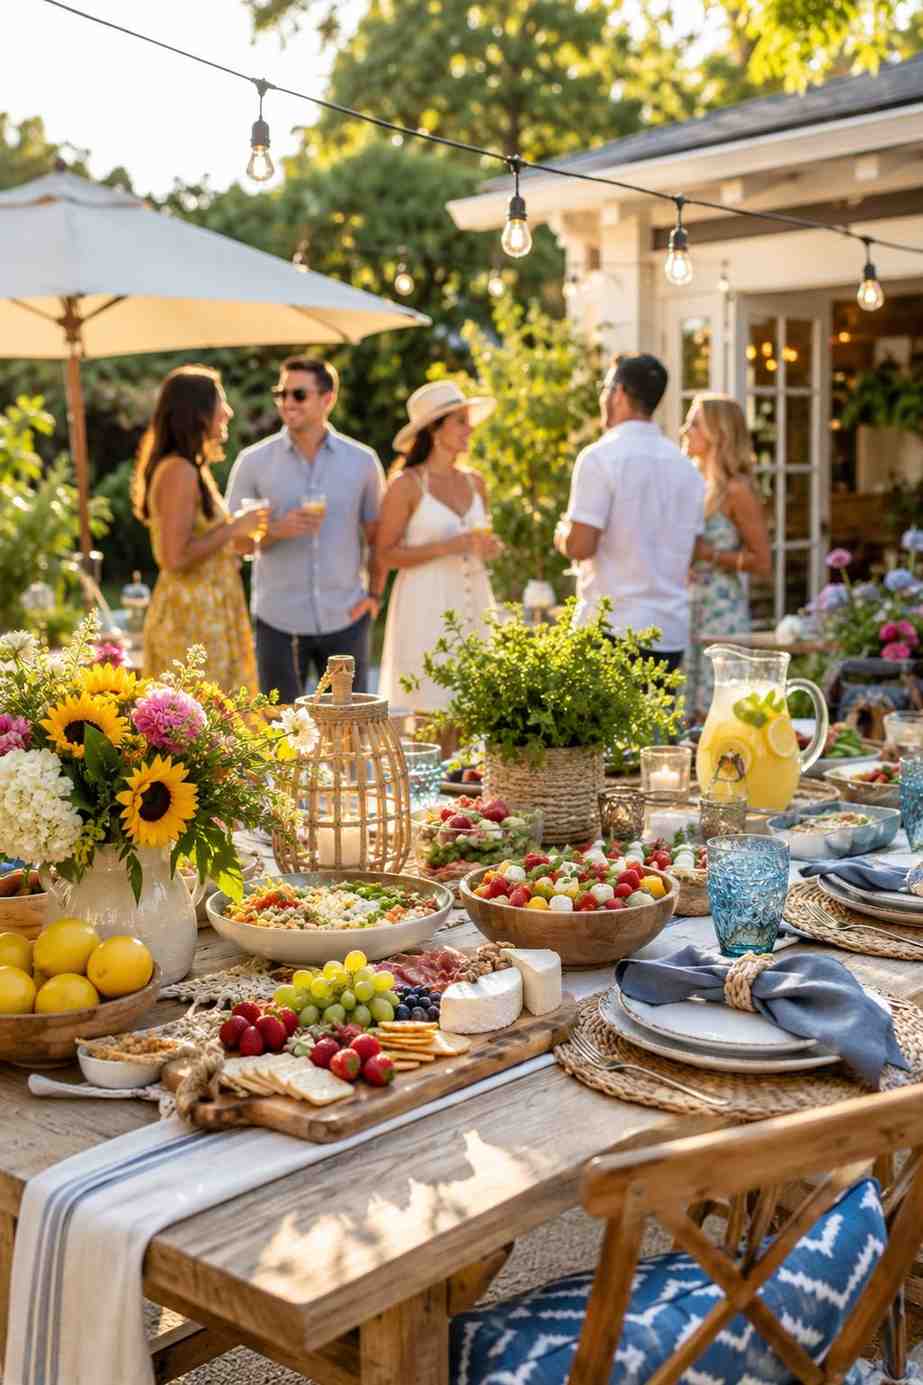
The Low-Stress Guide to Planning a Summer Brunch Gathering
Discover how to plan a relaxed summer brunch gathering with simple make-ahead recipes, effortless styling, and easy entertaining tips that help you spend less time hosting and more time enjoying your guests.
Summer Gathering Trends: 10 Ideas Making Hosting Feel More Personal This Season
Explore the biggest summer gathering trends, from smaller dinner parties and backyard pizza nights to aperitivo hours, better lighting, curated playlists, and repeatable hosting rituals.

Ask Partytrick: "How Long Should a Party Last?"
The truth is, most guests aren’t watching the clock; they are simply responding to the comfortable atmosphere you create. The best gatherings have a natural, organic rhythm that leaves people feeling satisfied rather than constantly checking the time.
Sign up for expert tips, exclusive content, and the 411 on the latest parties—all straight to your inbox.
Your shortcut to stress-free hosting
Spend less time coordinating and more time actually connecting.